We all like that silky effect you get when shooting fast-moving water with a slow shutter speed. It is a very popular effect. But say there are trees or even animals moving in the frame, you would want to keep these sharp.
So in this blog, I will explain how I overcame that issue, I am sure there are other ways of doing this and I am sure many already know and have explained how to do this, but here is my method.
You will obviously need a camera, and its best to use a tripod, the sturdier the better. Use either a remote shutter or the delay on the camera to help prevent camera shake. You can also use mirror lock-up on DSLR, again to prevent camera shake. If you have an ND (Neutral Density) filter, use it for the long exposure photos. If you don’t have an ND filter, you can up your F-Stop to limit the light getting in, but the ND filter will give better results.

In the photo above, you can see both blurred and sharp water of the waterfall. The trees were also swaying in the wind, but are acceptably sharp, I have also sharpened the rapids in the lower left of the photo.
So, how was this created?
It was created in Photoshop, using Overlays. Many will be very familiar to Overlays for painting in dramatic skies and the likes, but this is a practical use to prevent blurred leaves, etc and maintain the silky look of the water captured with a slow shutter speed.
I am using Photoshop CC and the time of writing is October 2019.
Take a shot of your scene with a fast(ish) shutter speed, I used 1/200th of a second. It should be fast enough to sharply capture the water droplets and any moving items, such as tree branches. Here is the “fast” photo:


As you can see, there is a branch along the top of the photo, it is acceptably sharp at 1/200th of a second. However, the waterfall, nice as it is, does not have the silky motion blur effect.

So without moving the camera, put an ND filter on, I used a 10 stop on this shoot.
Note, that if you were using autofocus, turn it off now and be careful not to knock the focus off.
Now adjust your exposure to have the shutter open longer. Again, if you do not have an ND filter you can get similar results by upping the F-Stop, this closes the aperture and lets less light in, and therefore requiring a longer exposure.
Here is the photo with the longer exposure, a slower shutter speed of 6 seconds:


Whereas we have now achieved the silky waterfall look, but unfortunately that branch along the top has motion blurred also, and most other leaves are not that sharp either.

So this is where Photoshop comes in.
First, do any post-shoot editing in Lightroom as normal, but be sure not to crop or straighten at this point, that can be done on the final image.
Here is the process to sharpen the leaves and in this case part of the water in Photoshop:

Now select to the slower shutter speed image and press “Place”, to load it over the faster image.


The location was Glenariff Forest, County Antrim, Northern Ireland.
To get to the waterfall in the images above, go to Laragh Lodge Restaurant and follow the path around the back and then down to the left. It is a very short walk, but worth exploring the rest of the area, as there are other waterfalls and things of interest on the trails.
Here is a link for Laragh Lodge Restaurant on Google Maps.
Thanks for reading, and I hope you have found this useful.
So in this blog, I will explain how I overcame that issue, I am sure there are other ways of doing this and I am sure many already know and have explained how to do this, but here is my method.
You will obviously need a camera, and its best to use a tripod, the sturdier the better. Use either a remote shutter or the delay on the camera to help prevent camera shake. You can also use mirror lock-up on DSLR, again to prevent camera shake. If you have an ND (Neutral Density) filter, use it for the long exposure photos. If you don’t have an ND filter, you can up your F-Stop to limit the light getting in, but the ND filter will give better results.

In the photo above, you can see both blurred and sharp water of the waterfall. The trees were also swaying in the wind, but are acceptably sharp, I have also sharpened the rapids in the lower left of the photo.
So, how was this created?
It was created in Photoshop, using Overlays. Many will be very familiar to Overlays for painting in dramatic skies and the likes, but this is a practical use to prevent blurred leaves, etc and maintain the silky look of the water captured with a slow shutter speed.
I am using Photoshop CC and the time of writing is October 2019.
Take a shot of your scene with a fast(ish) shutter speed, I used 1/200th of a second. It should be fast enough to sharply capture the water droplets and any moving items, such as tree branches. Here is the “fast” photo:


As you can see, there is a branch along the top of the photo, it is acceptably sharp at 1/200th of a second. However, the waterfall, nice as it is, does not have the silky motion blur effect.

So without moving the camera, put an ND filter on, I used a 10 stop on this shoot.
Note, that if you were using autofocus, turn it off now and be careful not to knock the focus off.
Now adjust your exposure to have the shutter open longer. Again, if you do not have an ND filter you can get similar results by upping the F-Stop, this closes the aperture and lets less light in, and therefore requiring a longer exposure.
Here is the photo with the longer exposure, a slower shutter speed of 6 seconds:


Whereas we have now achieved the silky waterfall look, but unfortunately that branch along the top has motion blurred also, and most other leaves are not that sharp either.

So this is where Photoshop comes in.
First, do any post-shoot editing in Lightroom as normal, but be sure not to crop or straighten at this point, that can be done on the final image.
Here is the process to sharpen the leaves and in this case part of the water in Photoshop:
- Open the faster shutter speed image in Photoshop.
- Now use the slower shutter speed image as an overlay. File, Place Embedded

Now select to the slower shutter speed image and press “Place”, to load it over the faster image.
- Note, at this point, you can move or adjust the overlay (if you were going to paint in a sky or something), but we will not adjust or move it for this effect.
- You can keep the Blend Mode to Normal and Opacity to 100%, but do play about with these setting to see different effects.
- Now add a Layer Mask to the Overlay by selecting the Overlay Layer and clicking on the Add Layer Mask icon at the bottom.

- Select the Brush Tool

- Zoom in on the area that you want the fast image to show through.

- Set the foreground colour to black. This can be done by selecting the lower left of the colour panel or using the Swatches Tab.

- Adjust the Brush Tool as you wish, but as mentioned, I suggest 100% Opacity to cleanly get rid of any blur.

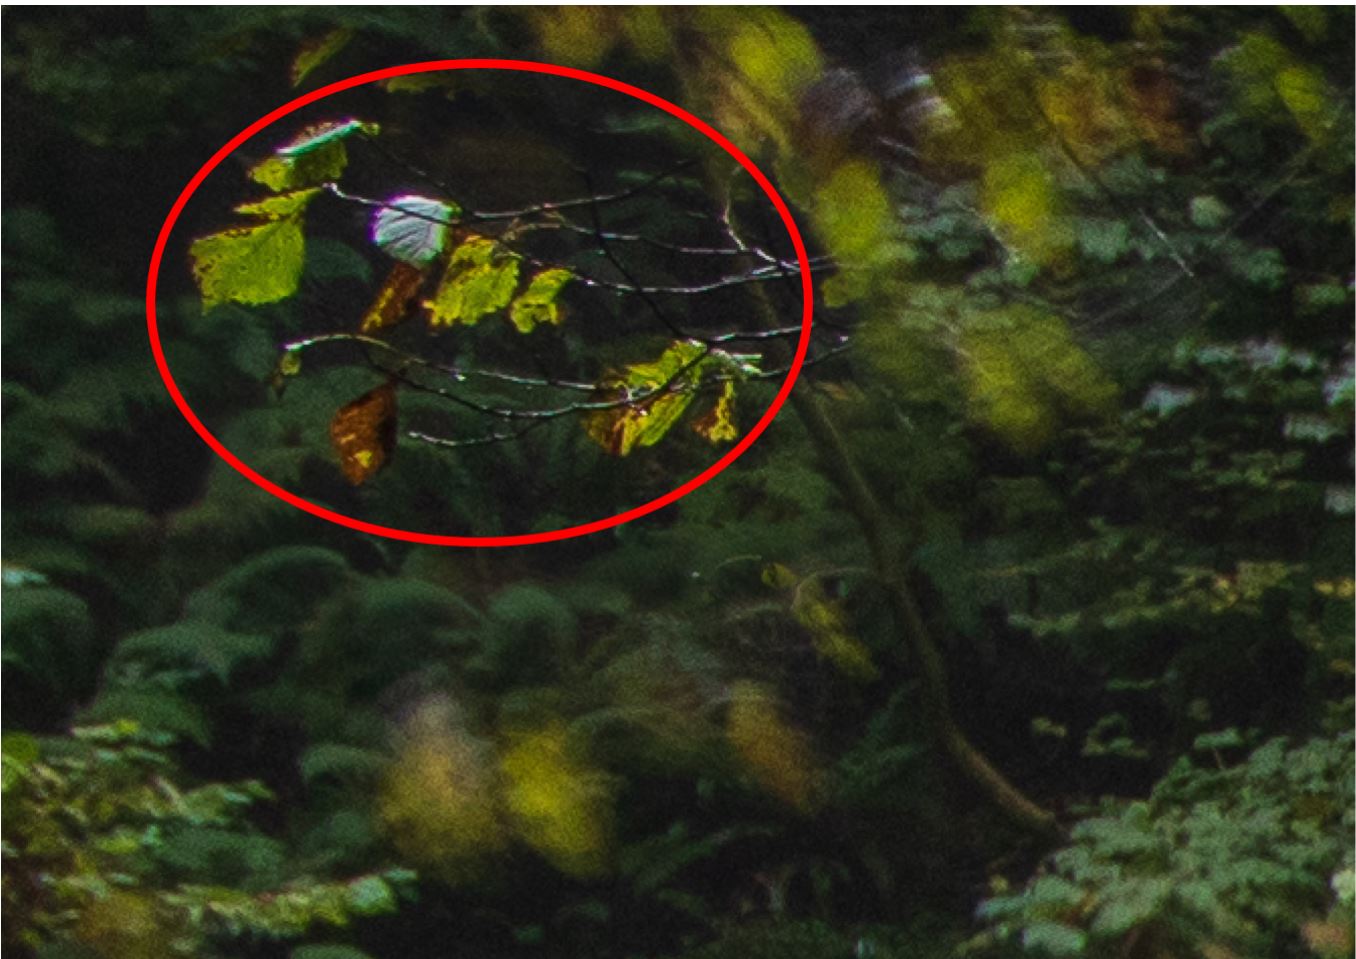
- Now just paint over the blurred areas that you wish to have sharper image show through.
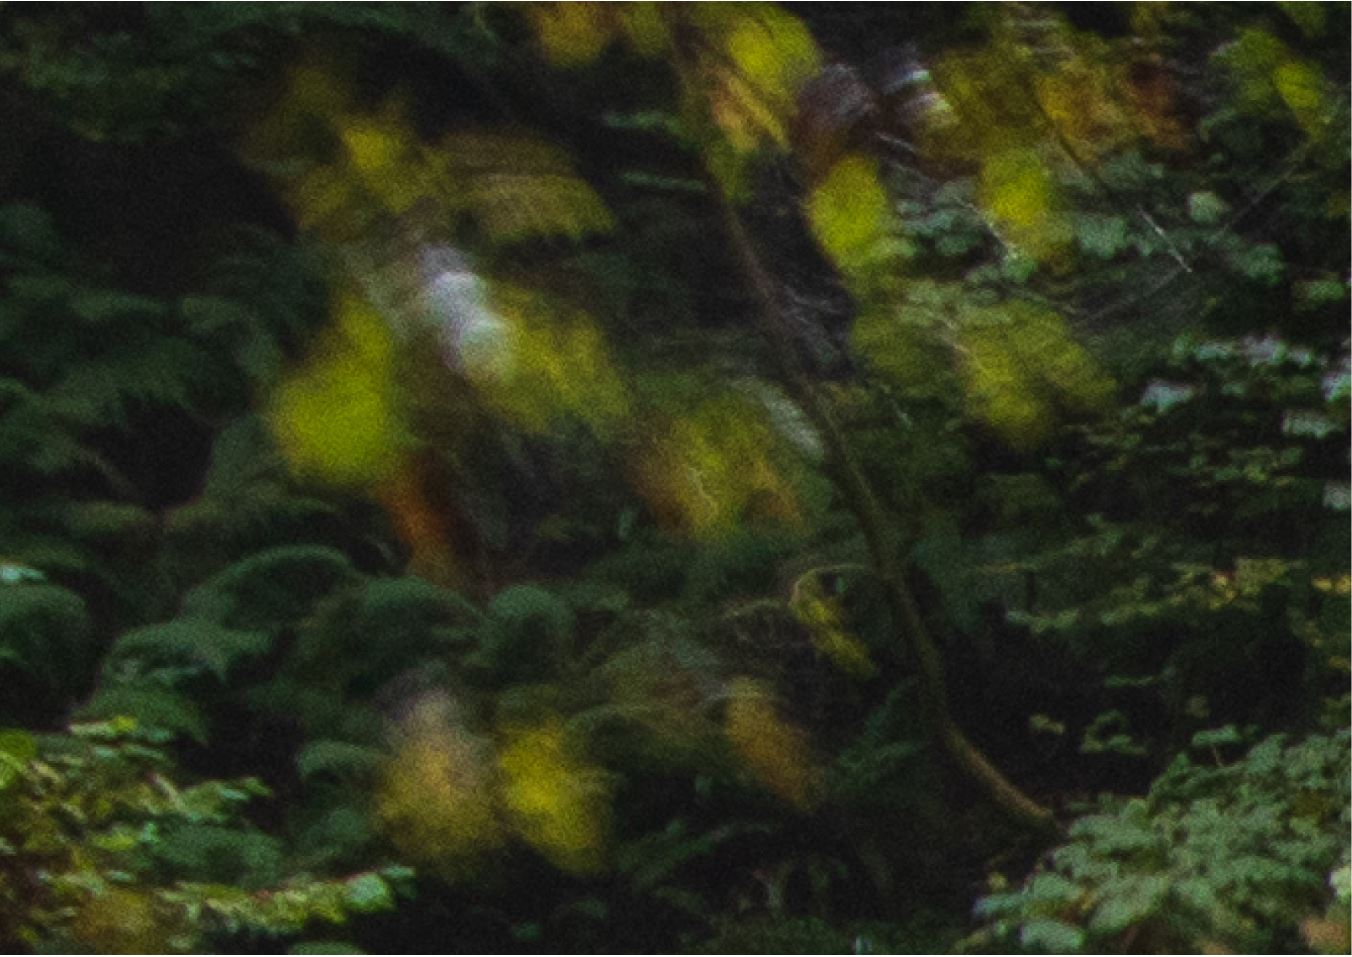
- Above is the blurred Overlay image, and below is it partially painted to have the sharper image show through.
- If you unblur a part of the image you didn’t mean to, and you don’t want to undo. You can set the Brush Tool colour to White and paint over the area to undo the blur.
- When finished, save the image which can then be cropped and straightened if required.
The location was Glenariff Forest, County Antrim, Northern Ireland.
To get to the waterfall in the images above, go to Laragh Lodge Restaurant and follow the path around the back and then down to the left. It is a very short walk, but worth exploring the rest of the area, as there are other waterfalls and things of interest on the trails.
Here is a link for Laragh Lodge Restaurant on Google Maps.
Thanks for reading, and I hope you have found this useful.


